
In this guide
A first build is a series of small decisions. The right parts list matters, but so do the seller, the cables in the box and the time you leave for testing.
This guide follows those decisions in order. Start where you are, check the exact model’s documentation, and keep your purchase terms close by.
MISTAKE 01
Treating the tower price as the whole budget
Start with the amount you can spend on a working setup. A parts subtotal can leave out sales tax, shipping, a display, input devices, audio, and an operating-system license if you need one. Those costs compete with the CPU and GPU for the same budget.
For a hypothetical $1,500 spending limit, reserve money for everything you still need before allocating the tower budget. Compare checkout totals for your delivery address. A lower advertised price can become the more expensive order after shipping.
MISTAKE 02
Checking the storefront and missing the actual seller
A familiar retail website can host third-party listings. Read the sold-by and shipped-by fields, the exact model number, and whether the item is new, open-box, or refurbished. A GPU family name alone does not identify the board you will receive.
Before paying, save the listing and check who handles a return and whether the manufacturer recognizes the seller for warranty coverage. An open-box discount deserves a specific check for missing mounting brackets, antennas, cables, and other accessories.
MISTAKE 03
Letting return windows expire before the first test
Buying one discounted part every few weeks can leave the earliest purchase outside its return period before you discover a fault. Plan your orders around a realistic assembly date and write down each return deadline.
Keep packaging, receipts, and serial-number records until the system is tested. A retailer return and a manufacturer warranty claim are different processes. Read the policy for your item and seller instead of assuming an immediate store exchange.
MISTAKE 04
Choosing performance without choosing a display
Decide what you want to run, at what resolution, and on which monitor. A quiet workstation, a competitive gaming PC, and a high-resolution editing setup can justify very different spending priorities.
Use benchmarks that match your applications and settings. Include the monitor in the plan, check its inputs, and remember to select its intended refresh rate in the operating system after setup.
MISTAKE 05
Assuming the socket answers every compatibility question
A matching socket is only one check. Look up the exact motherboard model and revision in the manufacturer’s CPU-support list, including the BIOS version required for your chosen processor. Confirm whether your board uses DDR4 or DDR5.
If an update is needed, establish how you will perform it before ordering. CPU-less flashing is model-specific. Use the board’s own instructions for the USB port, file name, update sequence, and power requirements.
MISTAKE 06
Measuring the case with accessories missing from the plan
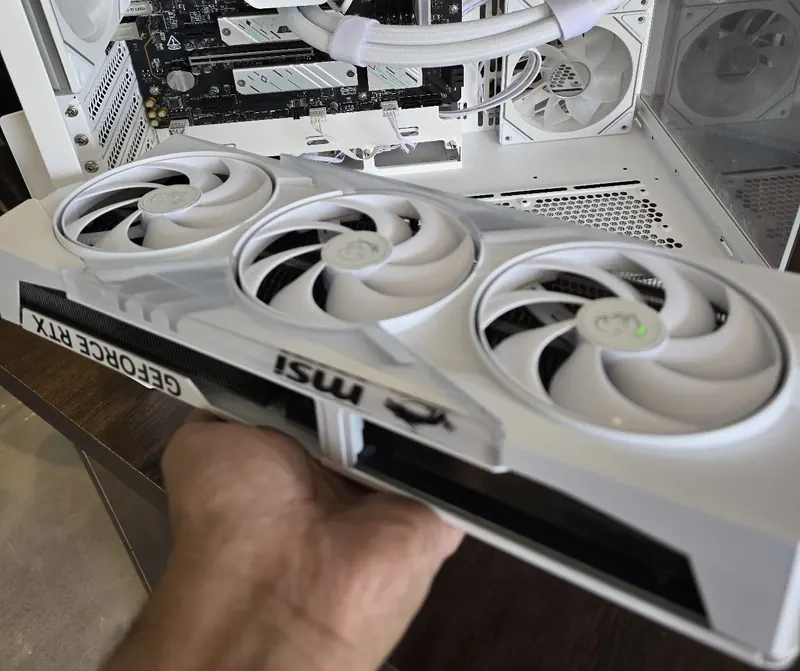
Check the exact graphics card and cooler against the case documentation. A front-mounted radiator, a raised cooler fan, or a drive cage can change usable space. Card thickness can also obstruct nearby slots and cables.
Include the route for GPU power cables and follow the connector manufacturer’s bending guidance. Case clearance figures need to be read with the intended fan and radiator configuration in mind.
MISTAKE 07
Buying memory as separate upgrades on day one
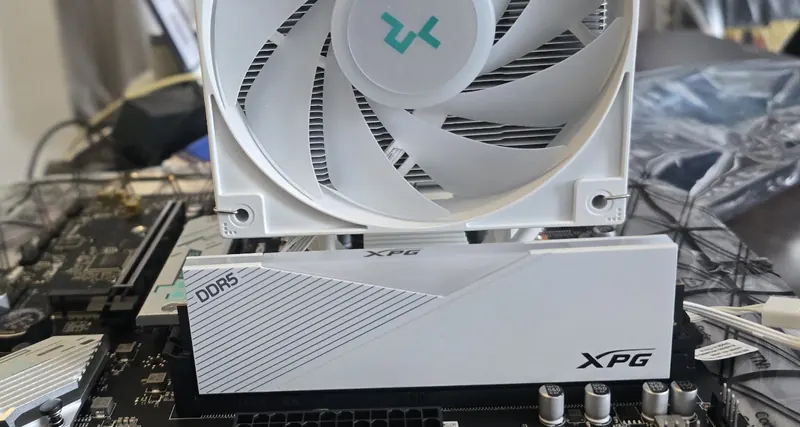
Choose a single kit with the capacity you need and consult the motherboard’s memory guidance. Two modules are a common starting point, but slot population, supported speeds, and training behavior depend on the platform.
Install modules in the slots specified by the manual. Establish a stable baseline before enabling XMP or EXPO. A profile is an overclock setting, so its rated speed is not a guarantee for every CPU and motherboard combination.
MISTAKE 08
Reusing modular PSU cables because the plugs fit
When changing a modular power supply, use the cables supplied with the new unit or cables explicitly approved for that exact model. Similar-looking PSU-side connectors can have different wiring. Never treat physical fit as proof of electrical compatibility.
Check the CPU and GPU power connections before assembly. Do not force a connector or substitute a CPU EPS cable for a PCIe cable. Follow the PSU and GPU manuals for cable selection and installation.
MISTAKE 09
Closing the case before checking the small connections
Work through the motherboard and cooler manuals before tightening everything down. Confirm standoff positions, remove any protective film from the cooler contact plate, and follow the cooler’s paste and mounting instructions.
Check the CPU power lead, CPU-fan or pump header, front-panel power switch, and graphics-card seating while access is easy. A simple visual check now is less frustrating than dismantling a finished build to reach a missed connector.
MISTAKE 10
Treating a blank screen as proof that a component is dead
Check the display’s input selection and the port you connected. With a dedicated graphics card, start with its display outputs. Motherboard video outputs require a processor with supported integrated graphics.
Read the board’s debug lights and first-boot instructions. Memory training can take time. If it still will not start, turn off power before reseating components and troubleshoot one change at a time using the manual.
MISTAKE 11
Installing games before checking system health
Confirm that the firmware detects the CPU, intended memory capacity, and all drives. Install appropriate chipset and graphics drivers from official sources, then check temperatures and stability under the workloads you bought the PC to run.
Unexpected shutdowns, memory errors, or unusually high temperatures deserve investigation before you depend on the machine. Test at default settings first so an optional tuning change does not obscure an assembly problem.
MISTAKE 12
Finishing the build without keeping a recovery plan
Save your final parts list, receipts, and any firmware settings you changed. Keep important files backed up and retain recovery keys where applicable. A saved shopping cart is not a backup plan.
For outages, decide whether you need battery runtime to save work and shut down. Select any UPS for the equipment’s actual load and compatibility requirements. Start with a reliable setup, then add upgrades as your use changes.
BEFORE YOU ORDER
A parts list you can stand behind.
Run through these five checks, then save the list with your purchase records.
A few last questions
Should I buy everything from one retailer?
Compare the delivered total and return process. Several retailers can work well if delivery dates leave enough time to test the complete system.
Can a compatibility checker confirm everything?
It helps identify relationships supported by its data. Installed BIOS versions, some clearance interactions and the condition of delivered parts still need manual checks.